Generating static sites with Svelte and a headless cms

JAMStack is becoming more and more popular because it's easy to scale and manage for devops and always offers optimal performances for end-users. There are a lot of native options to generate static websites, like GatsbyJS or the new features introduced in NextJS(check out how to create static sites with NextJs). Today we want to explore how to add headless cms to a Svelte app and how we can generate a static version of it.
Setting up
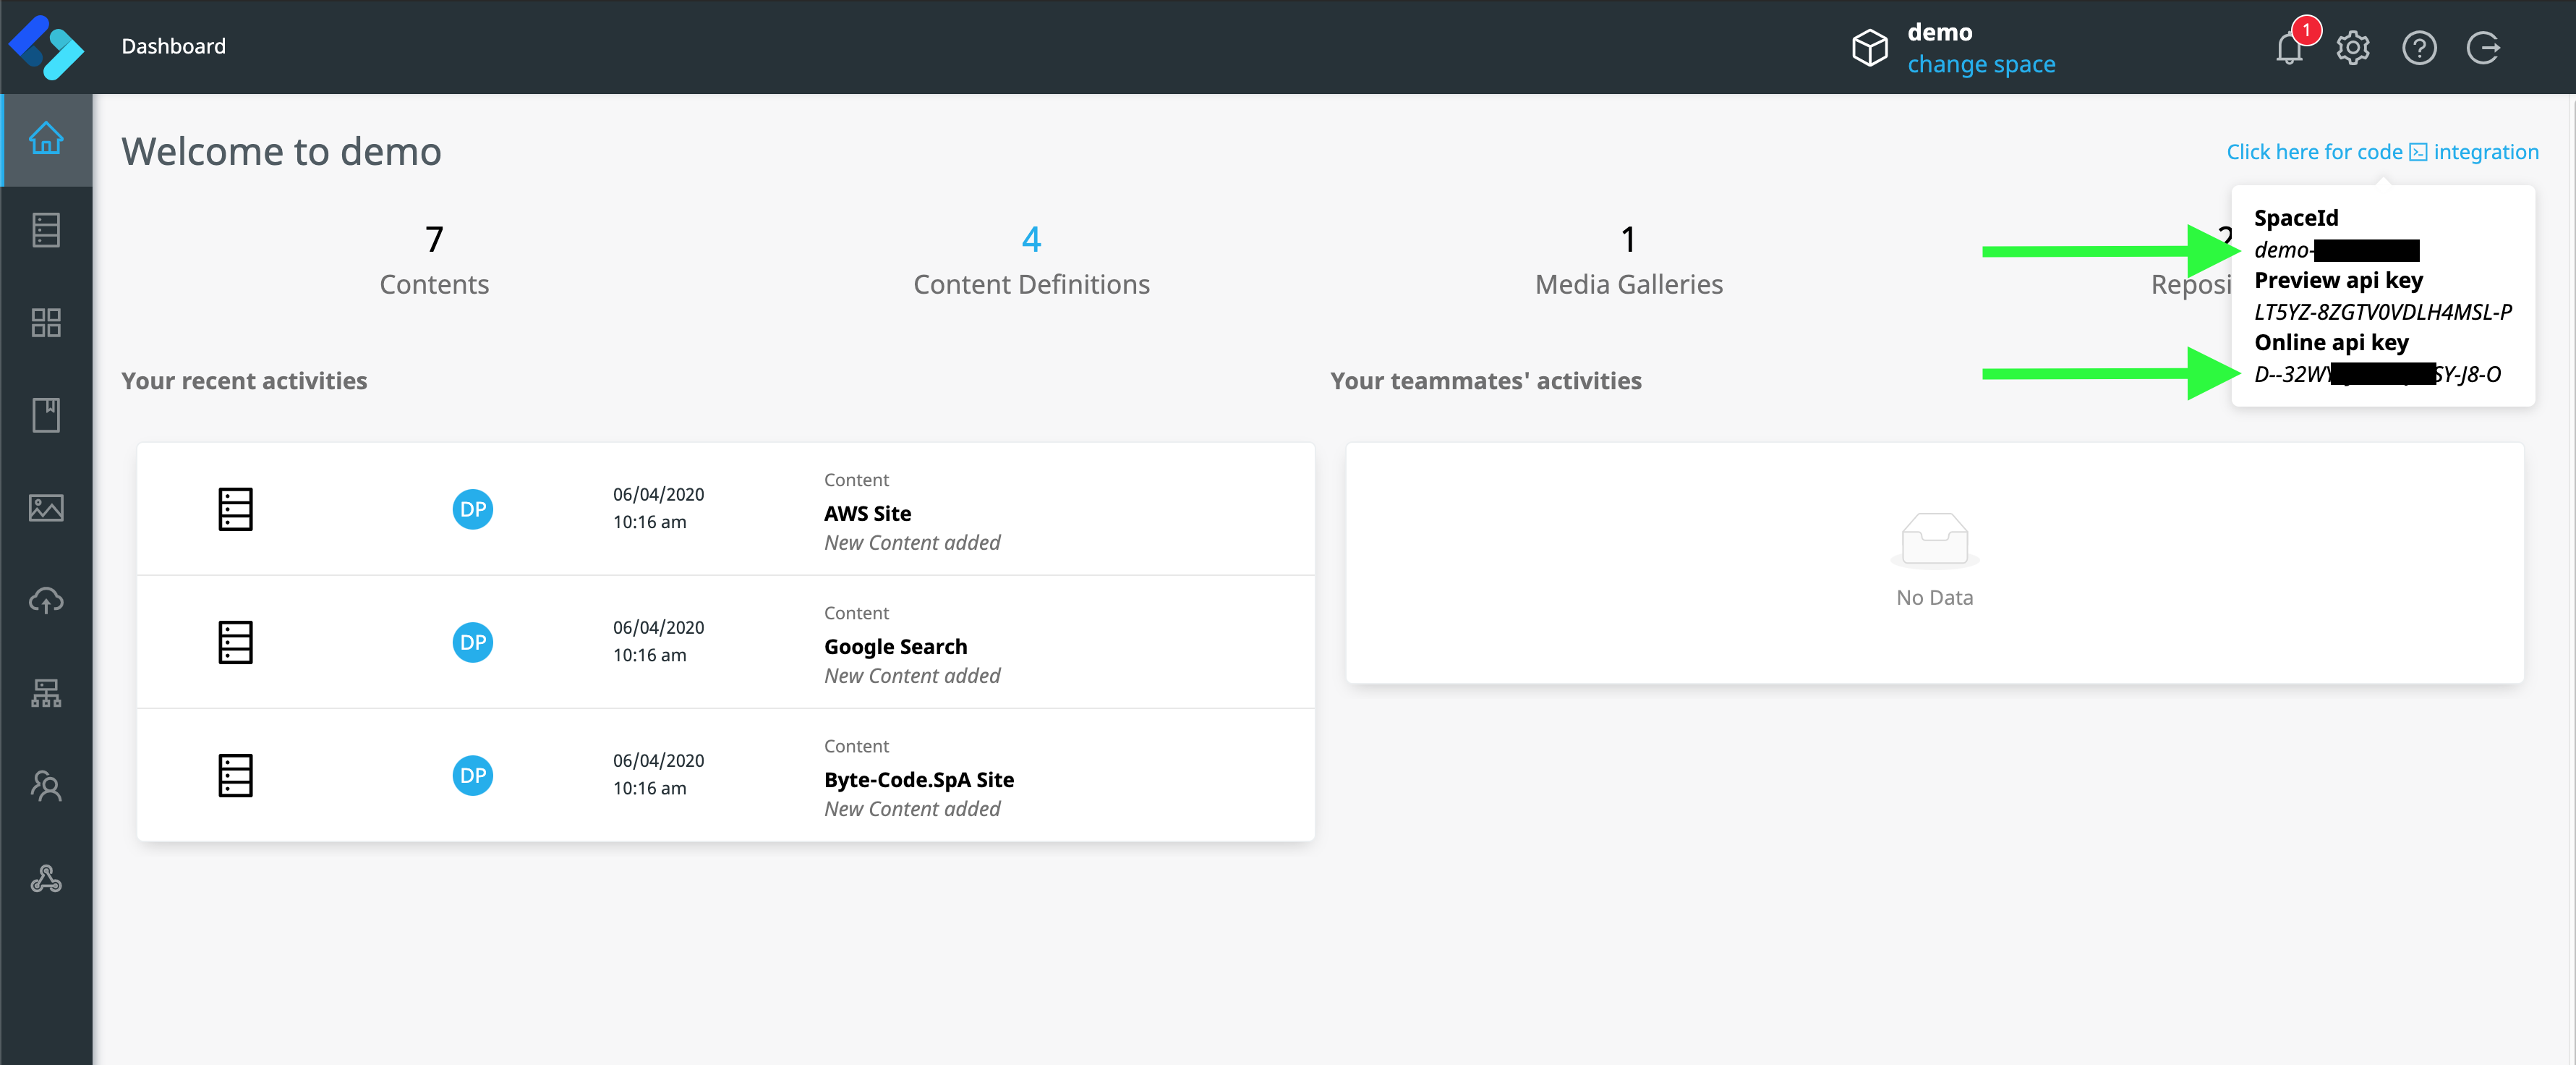
To get started, you need to have nodejs( >= 10), git installed, and an active account of ContentChef.(You can start a free 30-day trial here) ContentChef is the headless cms that we are going to use in this example, and of course, the same concepts apply to any headless cms or external API to fetch data. For this tutorial, we will need the spaceID and the online API key that you can easily find and note down in the dashboard home, as you can see below.
Starting the example Svelte application
For this mini-tutorial, we'll use the Svelte Starter provided with ContentChef, and we begin by cloning the repo and installing all the dependencies.
    git clone [email protected]:ContentChef/svelte-starter.git
    cd svelte-starter
    npm install
This starter is a Sapper starter app (learn more about Sapper here), where we added a couple of pages.
Let's explore the starter.
Open the ./src/contentChef.js file to create and configure the ContentChef client ( from the JS/Typescript SDK ) by adding our spaceID and online API key noted down before.
import { configure } from '@contentchef/contentchef-node';

const client = configure({
    spaceId: '<YOUR_SPACEID>'
});

export const onlineChannel = client.onlineChannel('<YOUR_ONLINE_API_KEY>', 'example-ch');
Let's start it up with:
npm run dev
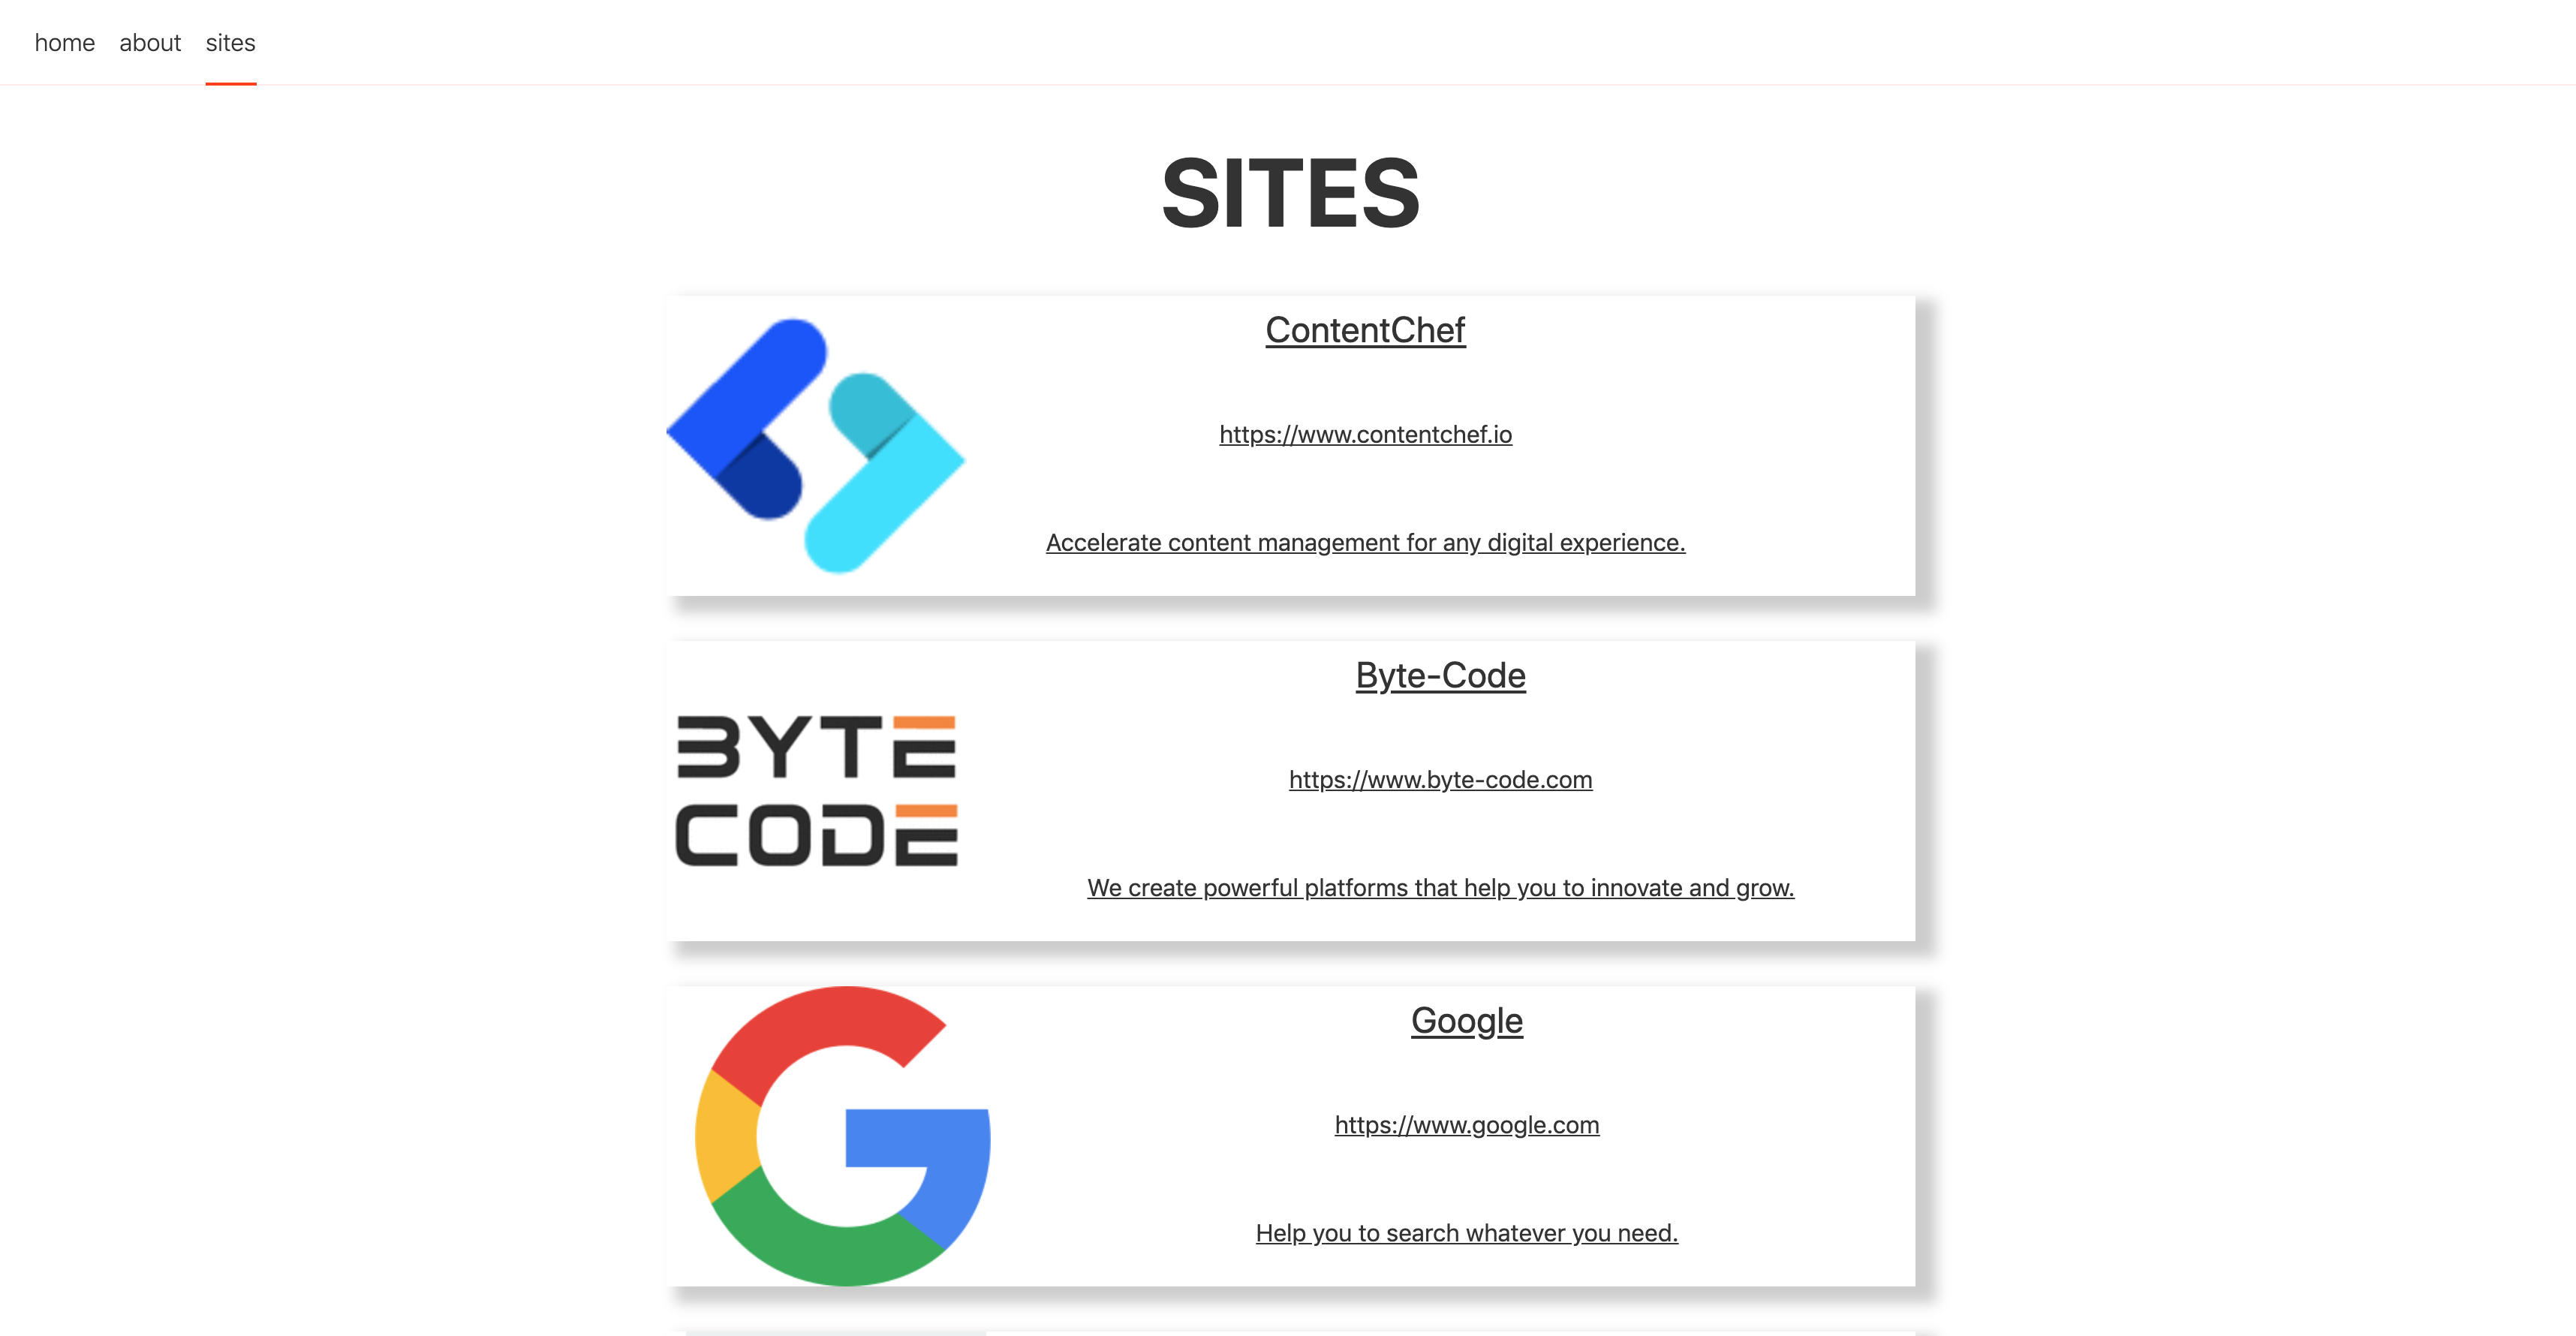
Now open up your browser at https://localhost:3000/sites, and you should see something like this:
Great! It's working correctly!
This is also a server-side rendered svelte app.
Just open up the src/routes/sites/index.svelte file to see how simple is the integration with ContentChef.
<script context="module">
	import {onlineChannel} from '../../contentChef.js';
	export async function preload(page, session) {
		const response = await onlineChannel.search({contentDefinition: 'top-site', skip: 0, take: 100});
		return { sites: response.data.items };
	}
</script>

<script>
	import Card from '../../components/Card.svelte';
	import {getImageUrl} from '../../contentChef.js';
	export let sites;
</script>

<style>
	h1, figure {
		text-align: center;
		margin: 0 auto;
	}
	h1 {
		font-size: 2.8em;
		text-transform: uppercase;
		font-weight: 700;
		margin: 0 0 0.5em 0;
	}
	figure {
		margin: 0 0 1em 0;
	}
	@media (min-width: 480px) {
		h1 {
			font-size: 4em;
		}
	}
</style>

<svelte:head>
	<title>Sites from ContentChef</title>
</svelte:head>

<h1>Sites</h1>

<figure>
	{#each sites as site}
		<a rel="prefetch" href="/sites/{site.publicId}">
			<Card thumbnail={getImageUrl(site.payload.image)} title={site.payload.title} url={site.payload.url} description={site.payload.description} />
		</a>
	{/each}
</figure>
As you can see, the list of sites is fetched from the cms delivery API, and there's also a detail page for each item, and therefore, the number of pages of this example site is dictated by the cms contents and not statically configured in the app.
But now we want to make this static, not only server side rendered! How can we staticize it , if we don't know the number and paths of pages upfront?
Making it static
Here's wehere the magic of Sapper will help us.
What we have to do? Well... basically nothing!
Sapper allows you to export a static site with a single zero-config sapper export command.
When you run sapper export, Sapper begins with a build of a production version of your app, as you had run sapper build, and copies the contents of your static folder to the destination. It then starts the server, and navigates to the root of your app. From there, it follows any <a> elements it finds, and captures any data served by the app.
Yes it basically crawl your app and generate static html from it!
Let's see it in action:
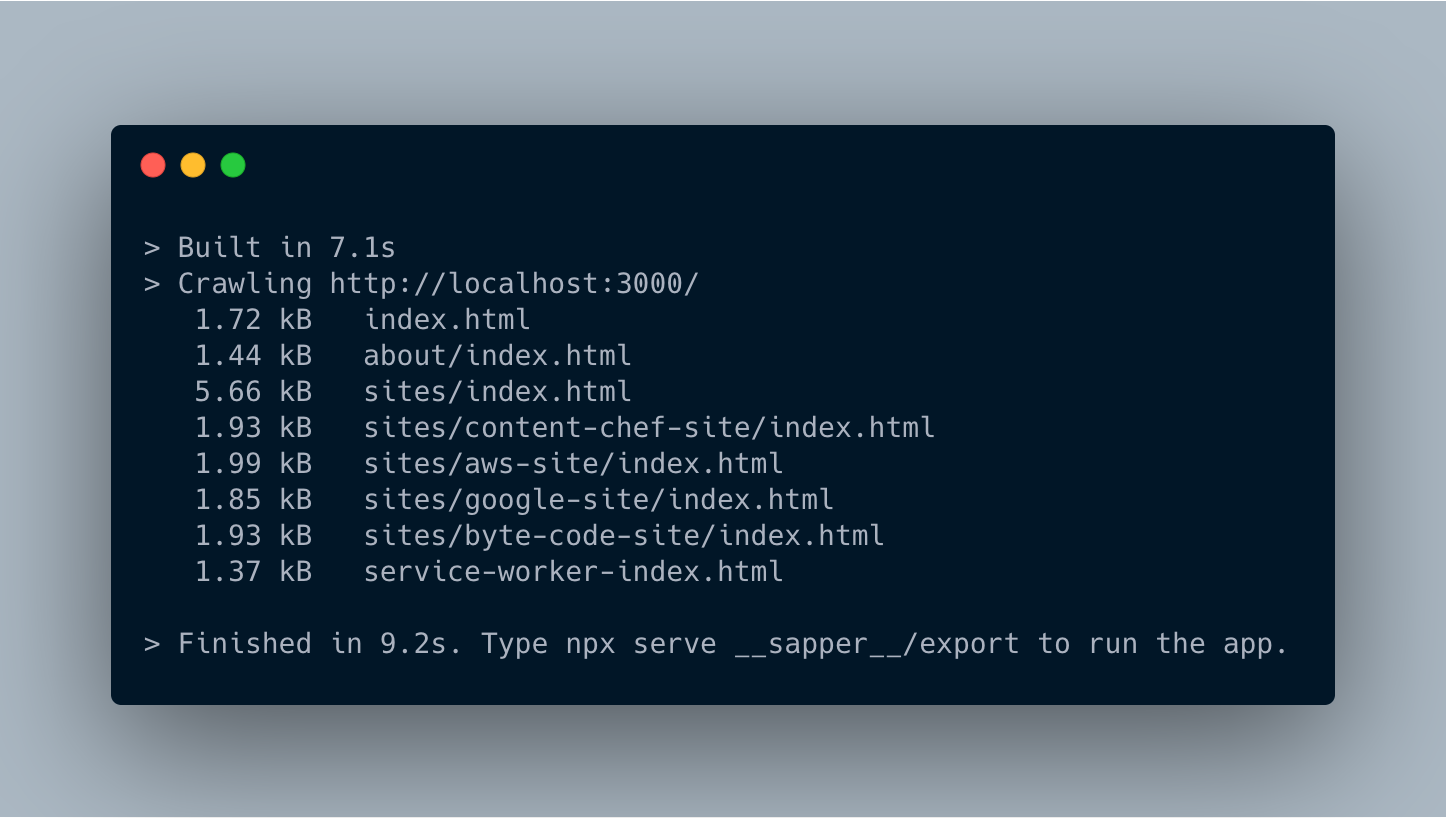
npx sapper export
Whoa! That was easy! And as we can see from the console output all the pages and subpages have been crawled and generated. And then serve it with:
npx serve __sapper__/export
You are done!
We have seen how it's straightforward to generate a static version of your svelte + sapper websites, and it's also effortless to manage content with headless cms like ContentChef. If you liked the article please share it with some fellow who might enjoy it too!
Did you like our article?
Ready to accelerate content management?
Learn how you can get the most out of ContentChef.


